Fusion Builder’s Visibility System
In Avada 5.0, we've developed an intuitive Visibility System for all elements that you use on the page. This allows you to choose when to display elements and when to hide them. For example, if you want a section of your page to only display on mobile devices and not on desktops, then our Visibility System let's you do that effortlessly. Continue reading below to learn more about the Fusion Builder's Visibility System.
Container, Column, and Element Visibility
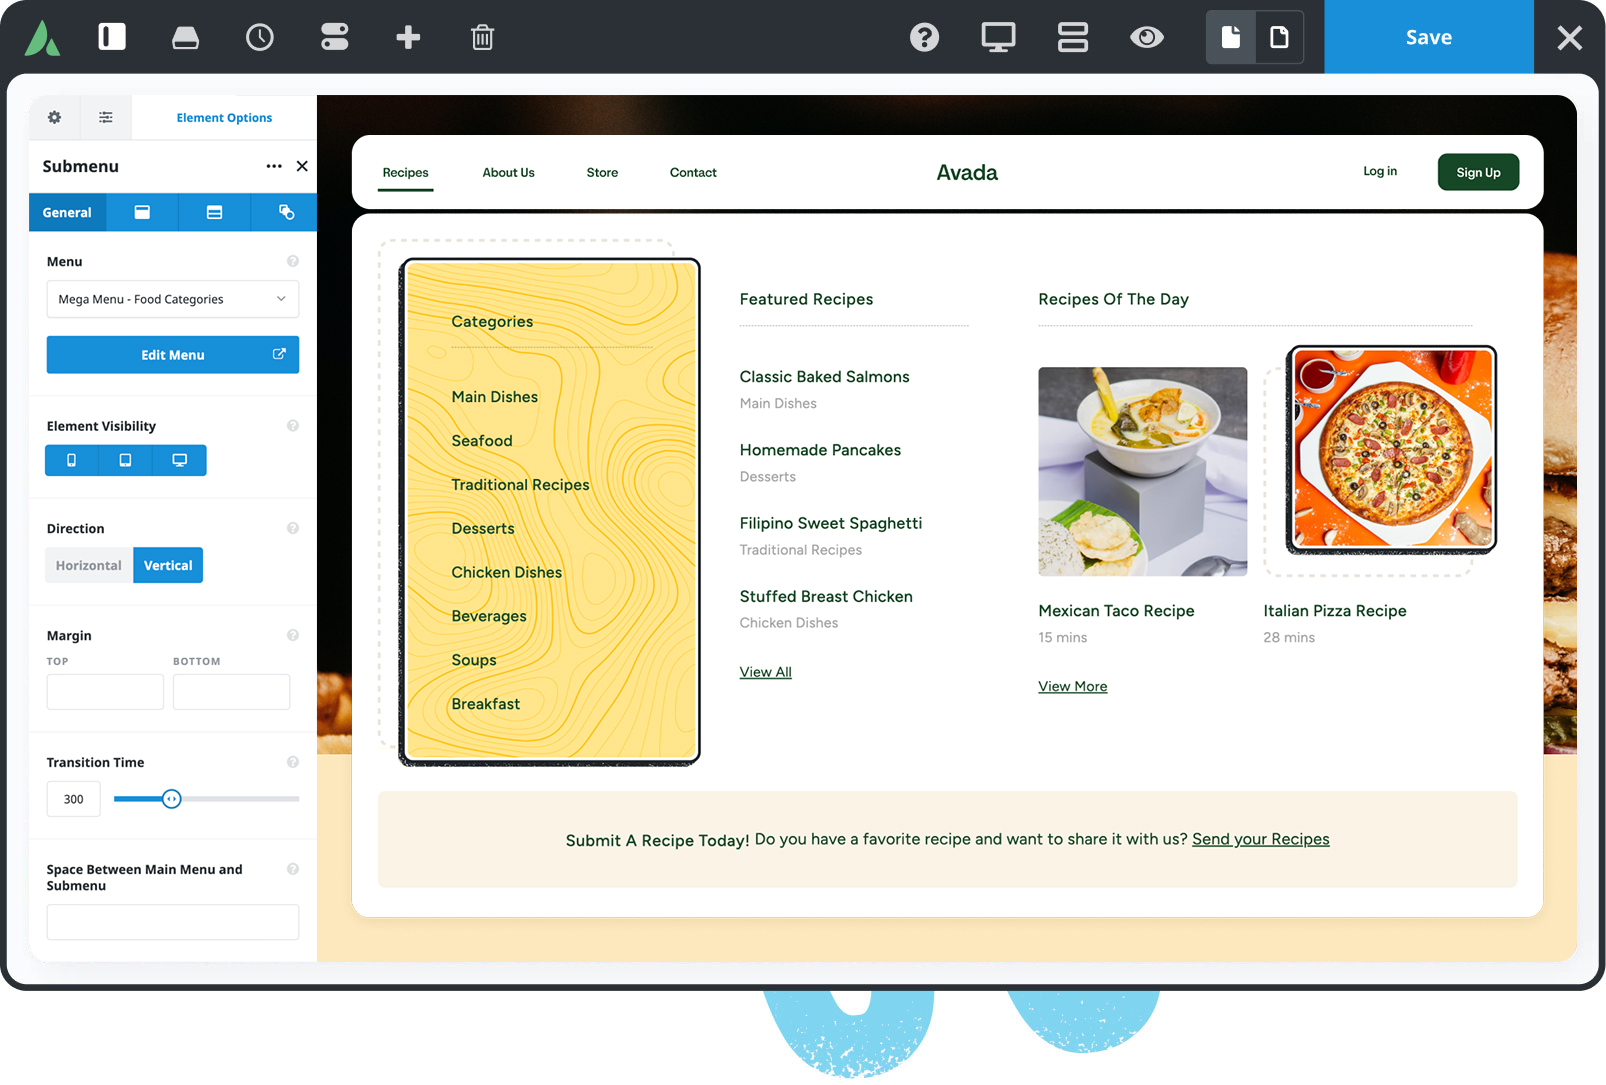
The 'Visibility' option is available to use in all elements, including Containers and Columns. This option is called 'Container Visibility' for Containers, 'Column Visibility' for Columns, and 'Element Visibility' for all other elements. You can enable more than one option, or enable all three of them. Continue reading below to learn how to use this option on elements.
How To Use The Visibility Options
Step 1 - Create a new page, or edit an existing one.
Step 2 - Activate the Fusion Builder by clicking the 'Use Fusion Builder' button.
Step 3 - Add a Container and select your desired column layout.
Step 4 - Click the '+ Element' button on a column to bring up the 'Elements' window. Select your desired element, and click it to open it's options window.
Step 5 - Locate the 'Element Visibility' option and select which screens you'd like to display the element in. You can choose more than one option, or all of them.
Step 6 - Each of these options have a Custom Width Setting which you can set. To learn how, please refer to our 'Custom Width Settings' section below.
Step 7 - Once finished, click 'Save' to add the element to the page.
Custom Width Settings
All three size settings have a Custom Width Setting which you can set in the Avada > Fusion Theme Options > Fusion Builder Elements tab. This allows you to set the responsive breakpoint for the small, medium, and large screens and determine when your site will switch to a different screen visibility. For example, if you set 640 pixels for the Small Screen's custom width settings, then when your site is viewed on a resolution that is equal or less to 640 pixels, any element with the 'Small Screen' option enabled will display on your site.
How To Set Custom Width Settings
Step 1 - Navigate to the Avada > Theme Options > Fusion Builder Elements panel.
Step 2 - On this panel, locate the 'Visibility Size Options' section at the very bottom of the panel. Expand the 'Visibility Size Options' tab to reveal the Screen options.
Step 3 - Set the Small Screen's custom width by entering a value in the text box, or by dragging the slider. When your site is viewed on a resolution that is less than or equal to the width set on this field, then the small screen visibility will take effect.
Step 4 - Set the Medium Screen's custom width by entering a value in the text box, or by dragging the slider. When your site is viewed on a resolution that is less than or equal to the width set on this field, then the medium screen visibility will take effect.
Step 5 - The Large Screen's custom width is automatically filled in depending on what width you've entered for the Medium Screen option. When your site is viewed on a resolution that is greater than the Medium Screen width, then the large screen visibility will take effect.
Step 6 - Once finished, click 'Save Changes'.